How does it work?
Step 1: Preparation and Planning
1. Unpack
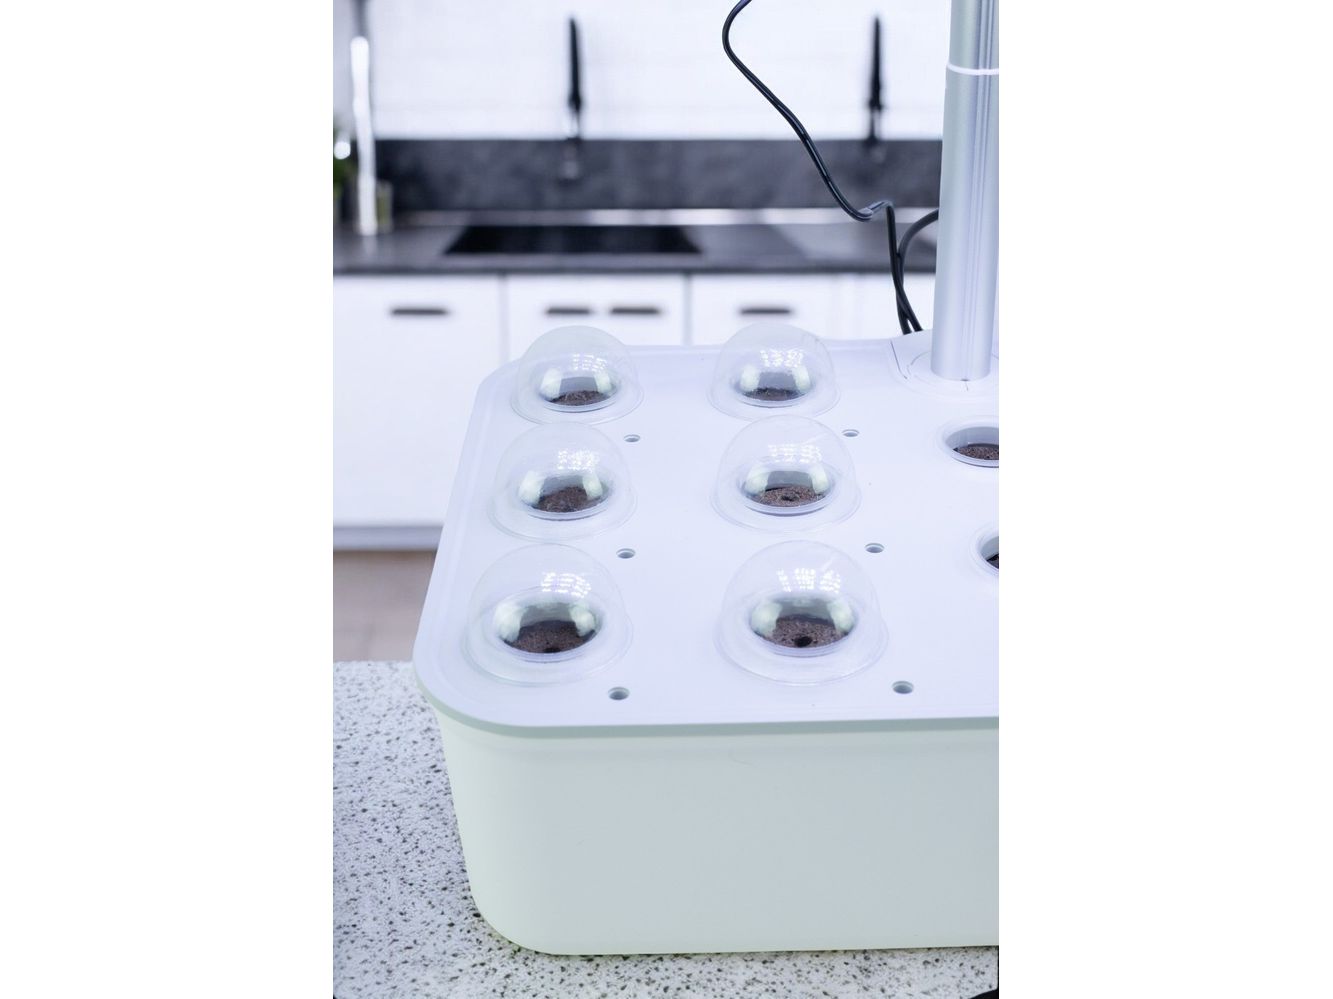
Check that all parts are present: base unit, telescopic pole, pump, water tank, plant pods, LED lamp, adapter, and user manual.
2. Materials:
- Plant cuttings or seeds
- Hydrophonics System
This contains everything you need, such as: - Nutrient solution
- Coconut fiber growing medium
- Lighting (grow lights)
- Timer (for lighting and pump)
3. Instructions
- Choose your plants: Decide which vegetables or plants you want to grow. See also our seeds page
- Choose a location: Find a suitable place for the system. Provide sufficient space and good ventilation.
- Cleaning: Rinse the water tank and plant pods with clean water.
Step 2: Installation
1. Build the system:
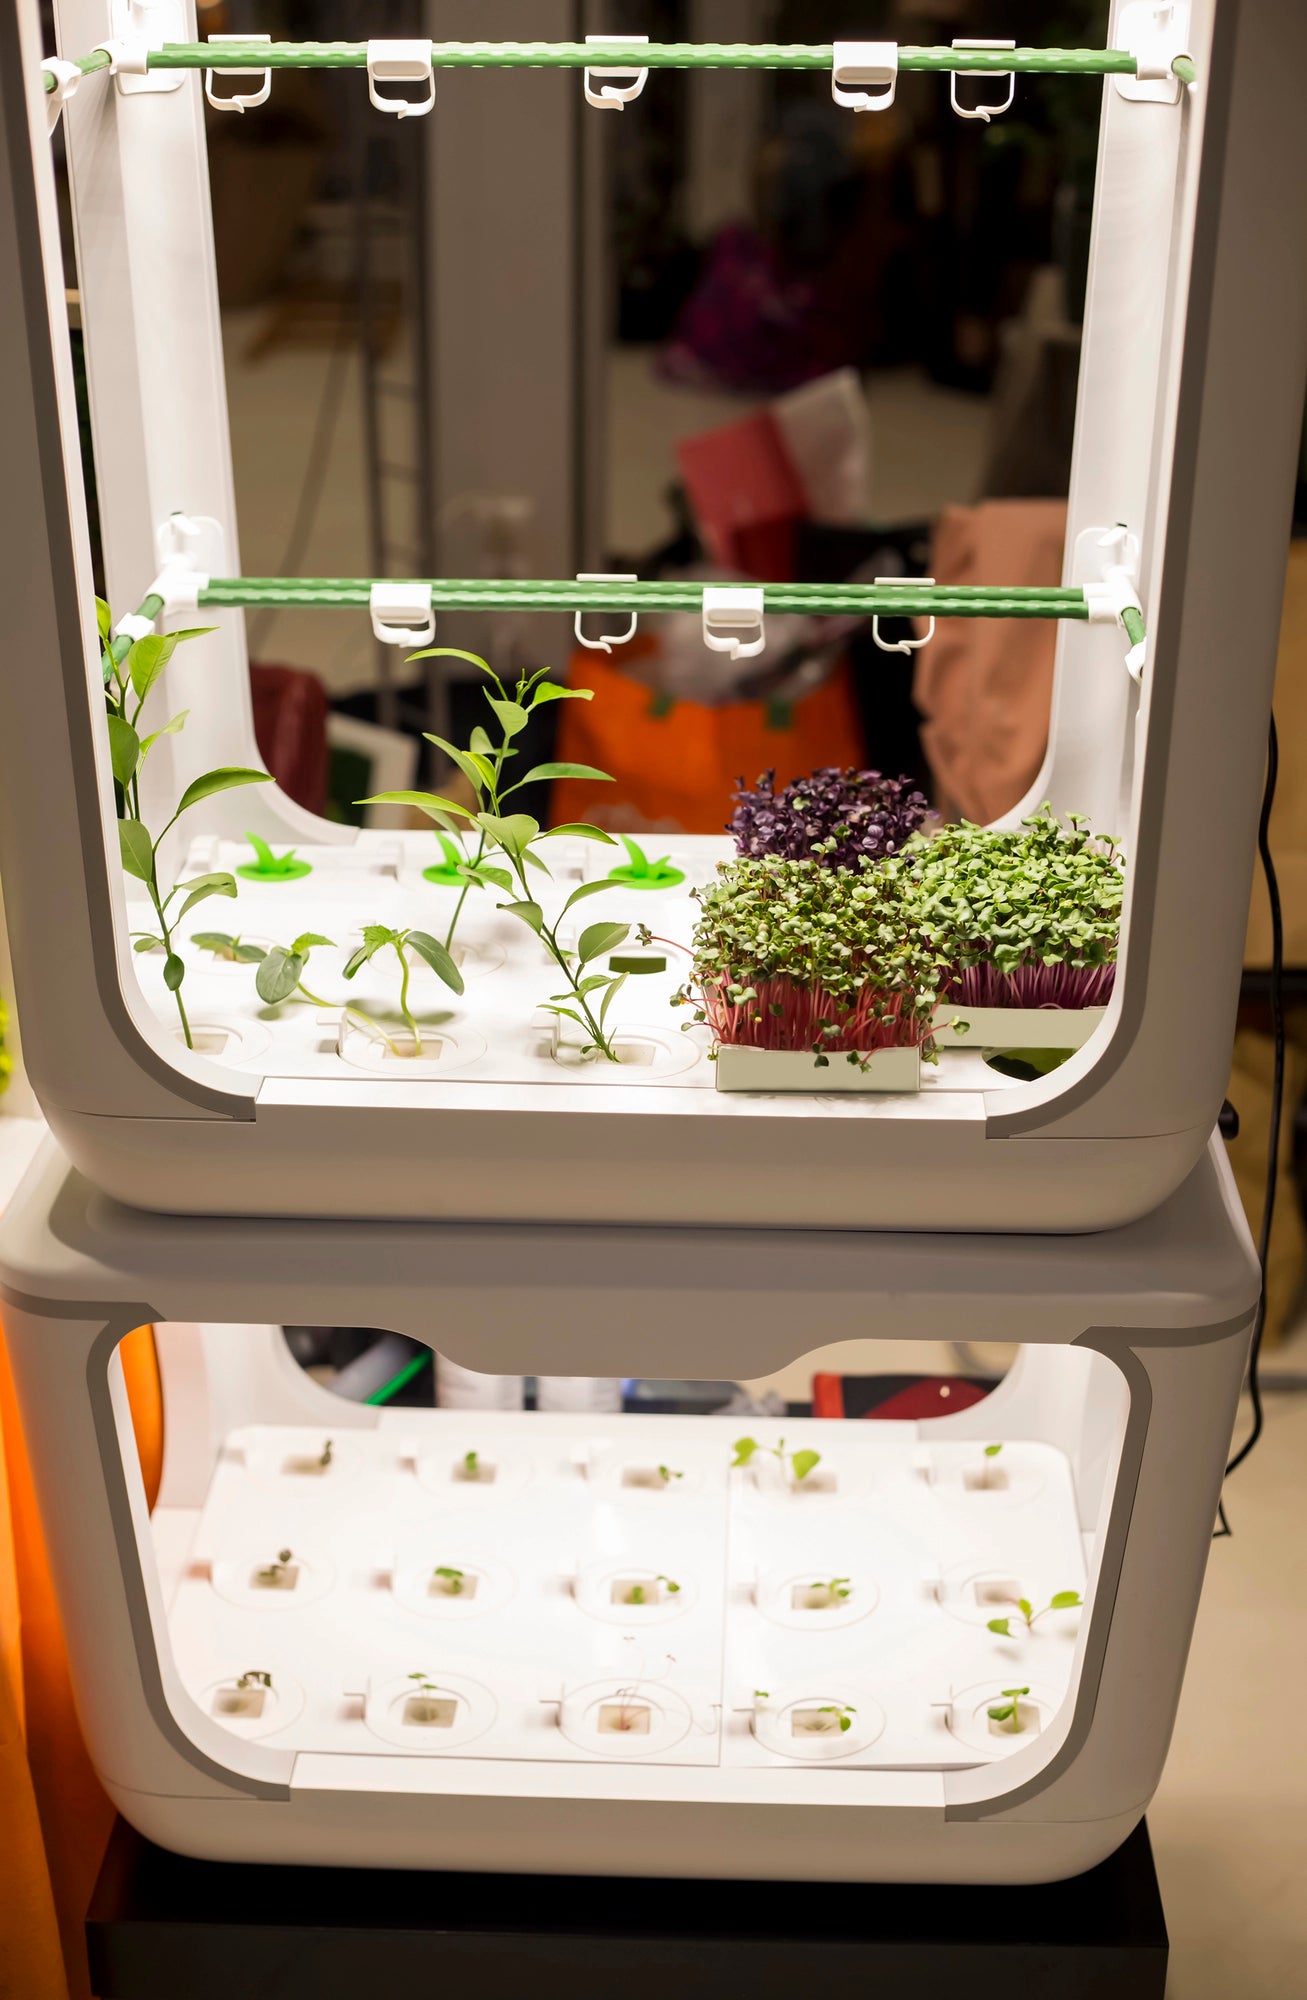
Attach the telescopic pole to the base unit. Make sure it is firmly attached.
2. Fill the water tank
Fill the tank with clean water to the indicated maximum litres. Then add nutrients according to the instructions on the packaging of the nutrient solution
3. Place seed pods
- Place the seed pods (sponges) into the holders (baskets) and make sure they are secure.
- Place the desired seeds into the seed pods
- Place the supplied domes over the pods
- Remove the domes again once the seeds have germinated.
NOTE: To be sure, check whether your seeds are light or dark germinators and, if necessary, cover the pots with the stickers provided
Step 3: System Commissioning
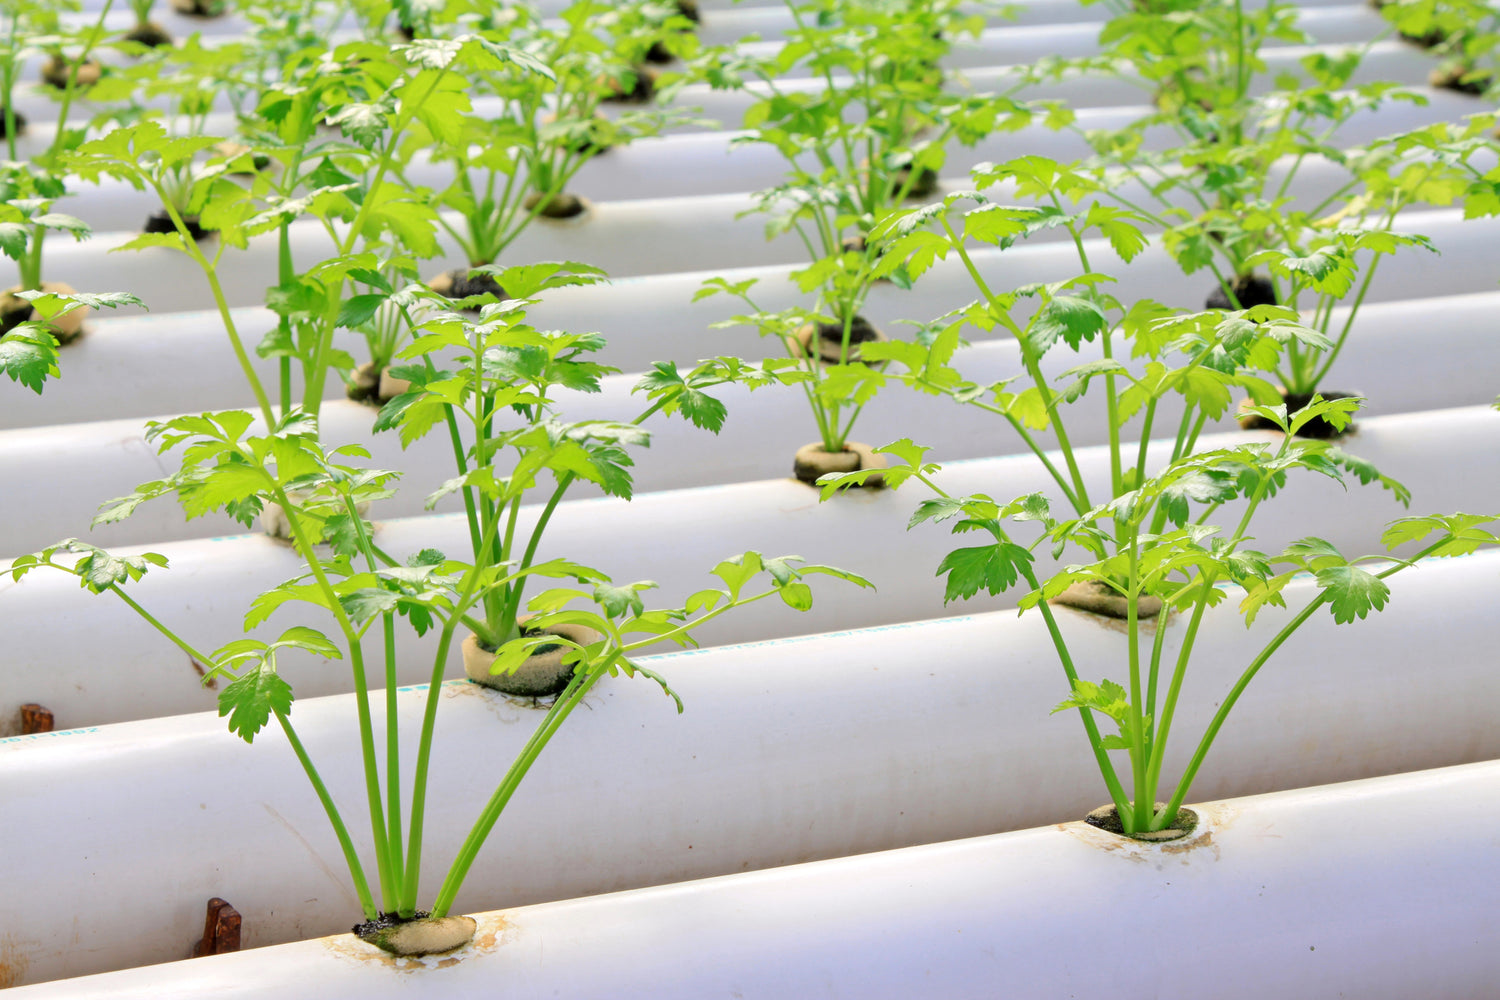
- Power Connection Connect the system to the power supply using the supplied adapter
- App installation (for systems with WiFi function)
- Download the Tuya Smart or Smart Life app on your smartphone (available for iOS and Android)
- Create an account or log in.
- Add the device by following the instructions on the app. The device must be near your WiFi router for a stable connection.
- Set the settings such as light duration, water cycle and feeding schedule.
Step 4: Growth phase
Light settings
- Set the LED lights to burn for 12-16 hours daily. This is crucial for photosynthesis.
Water management
- Check the water level weekly. Top up if necessary. Some systems have a low water level indicator.
Nutrients
- Add nutrients weekly or as per schedule. Follow the directions on the nutrient solution for the correct dosage.
Step 5: Maintenance
Cleaning
Clean the water tank and pods regularly to prevent algae growth. Use a mild detergent and rinse thoroughly.
Inspection
Inspect plants weekly for disease and remove dead or damaged leaves to prevent spread.
Step 6: Harvesting
Instructions:
Timing
- Time to harvest varies by plant species. Consult the seed packet for specific growing times. For example, basil can be harvested in 3-4 weeks, while tomatoes will take 8-10 weeks.
Harvesting
- Use clean scissors or a clean knife to harvest the plants. Cut the stems just above the leaves to encourage continuous growth.
Preparing for the New Harvest
- After harvesting, remove old plant remains
- Refresh the water and add new nutrients. Ensure a good pH balance in the water (between 5.5 and 6.5)
- Place the new seed pods (sponges) and repeat the growing process
Tips & Tricks
Temperature and Humidity
- Keep the system in a place with a stable temperature between 18 and 24 degrees and avoid direct sunlight
Water quality
- Preferably use filtered or distilled water to minimize mineral build-up
Nutrition schedule
Follow a consistent feeding schedule and record growth results to optimize future growing cycles
Any further questions?
Don't hesitate to send us a message:
This can be done via WhatsApp, via email or via the button below.
Whatsapp: 06-47157411
Email: info@smartindoorgarden.nl
